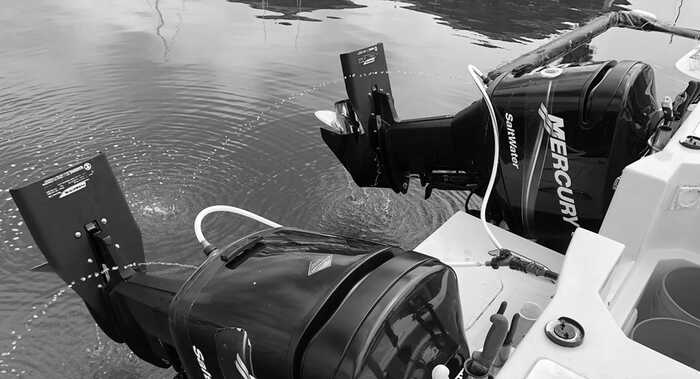
Charging & Starting System Maintenance for Mercury Optimax Outboards

Proper maintenance of the charging and starting system is essential for the reliable performance of Mercury Optimax outboards. Here's how to clean, inspect, and test the starter:
Cleaning and Inspection
- Clean all starter motor parts thoroughly to remove dirt and debris.
- Inspect pinion teeth for chips, cracks, or excessive wear.
- Replace the drive clutch spring and/or collar if tension is inadequate or wear is excessive.
- Check the brush holder for damage or failure to hold brushes against the commutator.
- Replace brushes that are pitted or worn to less than 1/4 inch in length.
- Inspect the armature conductor for tight connections to prevent burned commutator bars.
- Resurface and undercut a rough commutator according to the specified procedure.
- Repair open-circuited armatures by resoldering leads and turning down the commutator to remove burned material.
- Clean out copper or brush dust from slots between commutator bars to prevent arcing.
- Check the armature for ground using a growler test.
Armature Test for Shorts
Check the armature for short circuits by placing it on a growler and holding a hack saw blade over the armature core while rotating. If the saw blade vibrates, the armature is shorted. Recheck after cleaning between commutator bars. If the blade still vibrates, replace the armature.
Regular maintenance of the charging and starting system ensures optimal performance and prolongs the lifespan of your Mercury Optimax outboard motor.


