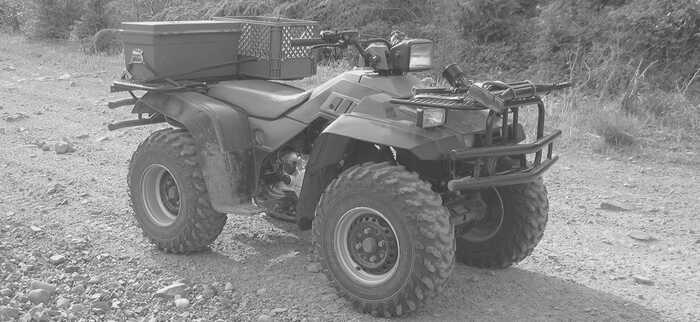
Starter Motor Inspection for 1986-1989 Honda TRX350 FourTrax 4X4, TRX350D Foreman 4X4 ATVs

REMOVAL
WARNING! With the ignition switch OFF, remove the negative cable at the battery before servicing the starter motor.
- Remove the fuel pump by removing the mounting bolt.
- Remove the starter gear cover from the left side of the engine.
- Remove the dowel pins and gasket.
- Remove the starter idle gear by pulling out the gear shaft.
- Remove the starter motor mounting bolts, shift the motor to the right and pull it out of the frame.
NOTE: Do not force to pull the motor out, the cable is still connected. Disconnect the cable.
INSPECTION
Remove the two starter motor case screws and the front and rear covers. Disassemble them.
NOTE: Record the number and location of shims for correct assembly.
- Inspect the brushes for damage and measure the brush length.
- SERVICE LIMIT: 5.5 mm (0.22 in)
- Measure brush spring tension with a spring scale.
- SERVICE LIMIT: 740 g (26 oz)
- Inspect the commutator bars for discoloration. Bars discolored in pairs indicate grounded armature coils; in which case the starter motor must be replaced.
- Check for continuity between pairs of commutator bars, there should be continuity.
- Also, check for continuity between individual commutator bars and the armature shaft, there should be no continuity.
- Check for continuity from the cable terminal to the motor case and from the cable terminal to the brush wire. Replace the starter motor if the cable terminal is not continuous to the brush wire or if it is shorted to the motor case.


